Photography
/
Taze Creative
Got your mind racing for the best tips on ecommerce product photography in 2024? Welcome, brave entrepreneur! You’ve entered the battlefield of ecommerce promotion, where competition is fierce for the first page of Google. Fear not, because this guide has you covered.
Once you’re ready to dive into the strategies that separate amateurs from professionals, we’ll unveil the juiciest tips earned from years in the industry. No fluff, just insider secrets and actionable advice in this 9-minute read.
For those completely new to ecommerce product photography, let’s start with the basics. If you’re experienced, feel free to skip ahead to the advanced techniques!
Ecommerce product photography is a specialized branch of photography focused on producing high-quality images of products for online sales. The goal is to showcase the product in a way that attracts buyers, enhances the shopping experience, and maximizes conversion rates.
Now that we’ve covered the basics, let’s sprinkle in some industry facts to paint the full picture:
The Global commercial photography market was valued at $5.2 billion in 2022, and it’s projected to grow at a CAGR of 2.2% over the next decade, according to Fact MR research.
The average salary for an ecommerce photographer in the US is approximately $60,325 as of late 2023, according to Glassdoor.
77% of product photographers in the US work for companies with over 100 employees, with retail accounting for 36% of these jobs.
If you’re looking to hire ecommerce photographers in high-demand areas like Los Angeles, San Francisco, or San Jose, prepare for higher salary ranges, with averages hovering between $70,900 and $74,900 annually (US Bureau of Labor Statistics).
The global ecommerce market is expected to hit $6.3 trillion in 2023, according to Forbes. Professional product photography plays a crucial role in this, as high-quality visuals directly impact conversions across all stages of the sales funnel.
With nearly 4,000 companies in the U.S. alone generating half a million in annual sales in commercial photography, it's clear that product photography isn't just an afterthought—it’s a business-critical factor for ecommerce success.
The power of visuals in a distracted environment
In today’s visually dominated digital landscape, capturing attention is harder than ever. Social media, smartphones, and digital advertisements flood our senses every day, and the need for compelling, high-quality images has skyrocketed. Consider this:
In 2000, the average human attention span was 12 seconds.
By 2013, it had dropped to just 8 seconds—shorter than the 9-second attention span of a goldfish! And we’re well into 2023, where the focus is even more fragmented.
Why is our attention span dwindling so quickly?
50% of people admit to reaching for their phones when they aren't actively engaged.
Two-thirds of respondents use social media as their primary news source.
67% of consumers multi-screen, switching between their phone and TV or other devices, which means their attention is constantly divided.
Given these behavioral shifts, companies have had to adapt. For instance, YouTube introduced Bumper Ads—six-second unskippable ads—to seize fleeting attention before viewers can look away. The goal? Capturing consumer interest in a split second.
High-quality product photography: A basic expectation
With all the above distractions, high-quality product photography has become a fundamental requirement for ecommerce businesses. It’s no longer a luxury or upgrade; it’s essential. Just like a car needs wheels to function, your ecommerce store requires professional, visually appealing product images to even get started.
Without compelling product images, you won’t move an inch. Consider it the first gear in your ecommerce strategy. The expectation for beautiful, clear, and high-resolution photos is so universal that neglecting this aspect of your business means losing out on sales before you’ve even begun.
Why you can't afford to ignore it
To make the importance of product photography even clearer, let's explore what happens if you don’t get it right:
Missed conversions: If your photos don’t engage potential customers, they’ll leave your site. The lack of trust and interest can result in lower conversion rates.
Increased return rates: Poor product imagery leads to misrepresentation. Customers may buy something based on an inaccurate visual and then return it, costing you both time and money.
Damaged brand perception: Poor-quality photos make your business seem unprofessional and unreliable, which hurts your brand image.
To dive deeper into the common mistakes brands make and how costly they can be, check out this detailed piece: 11 product photography blunders your brand can’t afford to make
Final thoughts: In a world where visuals reign supreme, high-quality product photography is the key to surviving the fierce competition in ecommerce. It’s not optional—it’s essential.
High-quality ecommerce photography has become a powerful tool in the competitive digital landscape. It’s not just about aesthetics—professionally done images can increase conversions, reduce return rates, decrease cart abandonment, boost time on page, raise click-through rates (CTR), and even improve your Google search ranking. Let’s dive into why and how professional photography plays such a crucial role in ecommerce success.
1. Increase conversions with visual appeal
One of the most immediate impacts of professional product photography is a higher conversion rate. Beautiful, high-resolution images attract attention and engage customers, making them more likely to make a purchase. Customers want to see what they’re buying in detail, and the quality of those images heavily influences their decision-making.
Pro Tip: Showcase products from multiple angles, and include close-up shots of important details. This enhances customer trust and reduces hesitation, leading to more purchases.
2. Lower return rates
Low-quality images can misrepresent products, leading to disappointed customers and an increase in return rates. Professional photography ensures that your products are shown accurately, which helps set the right expectations.
Example: Providing clear, true-to-life images reduces the chances of buyers feeling like they didn’t get what they expected. This lower return rate saves you money and improves customer satisfaction.
3. Decrease cart abandonment
Cart abandonment is often a result of uncertainty. If customers aren’t convinced by your product images, they’re more likely to leave without purchasing. Professional, high-quality product images help ease buyer doubts and encourage them to complete their purchase.
Fact: The clearer and more appealing your product looks, the more likely shoppers are to trust the purchase and avoid abandoning their cart.
4. Boost time on page
High-quality product images can keep shoppers engaged, encouraging them to spend more time browsing. Multiple images from different angles, lifestyle shots, and zoomed-in details can increase a visitor’s time on page, making them more likely to convert.
SEO Benefit: The longer people spend on your page, the better it signals to search engines that your content is engaging, which can improve your ranking on Google.
5. Increase click-through rates (CTR)
Whether in Google Shopping, social media ads, or email campaigns, professional product photography can dramatically increase your CTR. When your product stands out visually, customers are more likely to click through to learn more or make a purchase.
Pro Tip: Use bright, clear, and relevant imagery in your ads and product listings to draw attention and drive clicks.
6. Improve SEO and search rankings
High-quality product photos are not just for customer engagement—they can also boost your SEO. Optimizing your product images with alt text, file names, and proper compression can help your site rank higher on Google and attract more organic traffic.
Tip: Ensure your images load quickly and are optimized for mobile to improve both user experience and search rankings.
7. The danger of stock photos: Authenticity matters
Using stock images on your landing or product pages can hurt your credibility. Stock images feel impersonal and can disconnect the customer from the brand. In contrast, custom-made, real product photos build trust and authenticity, which boosts engagement.
A/B Testing Insight: A moving company in Florida switched from a stock image to a real crew photo on their homepage, resulting in a 45% increase in lead sign-ups. This highlights how authentic visuals outperform generic stock images in boosting conversions.
Product photography equipment for top-of-the-shelf results
Photography is one of those areas where many ecommerce business owners are tempted to DIY in order to save on costs. While it’s possible to capture decent images on a budget, using professional equipment is essential if you want top-of-the-shelf results. If you’re a startup with tight finances, don’t worry—we’ve got some budget-friendly and professional recommendations below.
But first, a quick official disclaimer: while DIY photography can get you started, there’s a reason professionals invest in high-end gear. If you want your ecommerce store to compete with the big players, investing in proper equipment can make all the difference.
With that said, let’s explore what you need!
1. Camera: The foundation of your photos
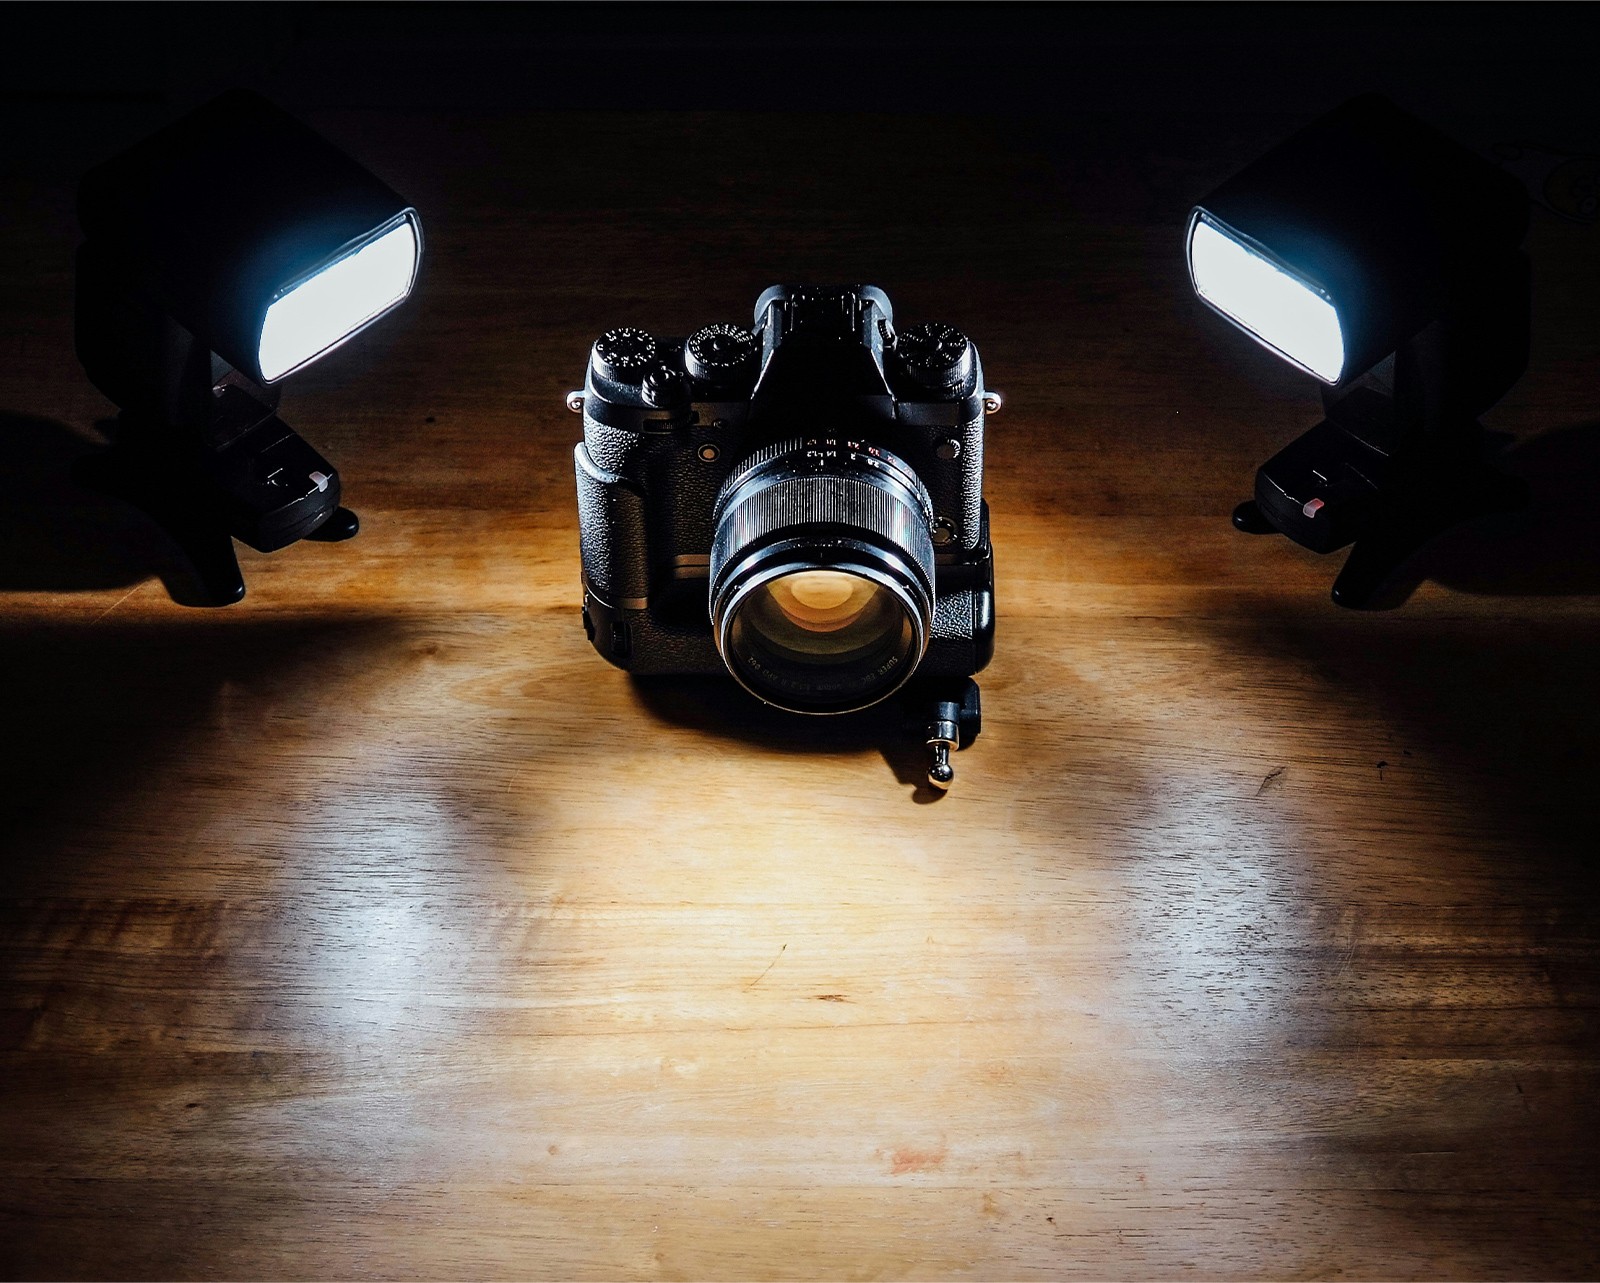
The camera is the heart of your photography setup. While smartphones have made significant advances, a DSLR or mirrorless camera offers more control and higher image quality, especially when zooming in on details or managing lighting.
Budget option: Canon EOS Rebel T7i – Affordable and versatile, this entry-level DSLR has great image quality and manual settings to improve your shots.
Professional option: Sony Alpha a7 III – A full-frame mirrorless camera that’s beloved by professional photographers for its high resolution, low light performance, and stunning image quality.
2. Lenses: Capturing details with precision
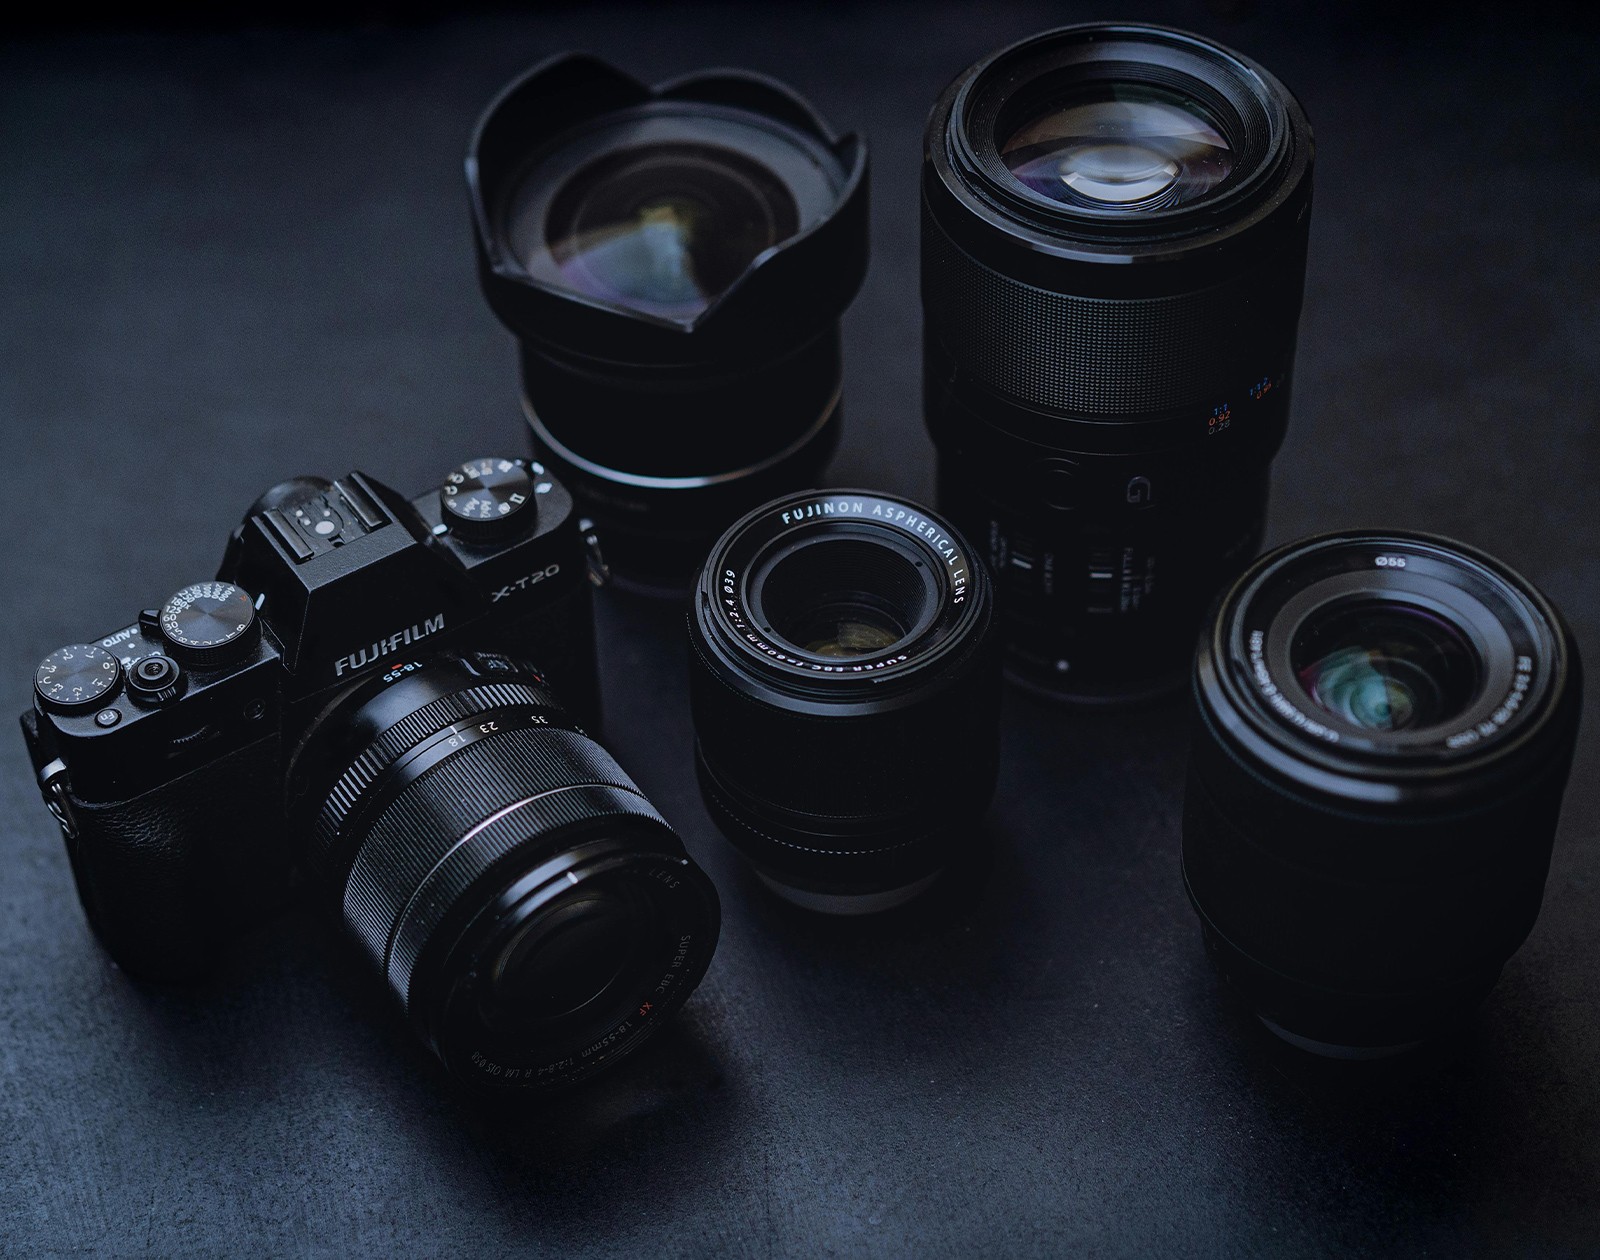
The type of lens you use can make a significant impact on the overall image quality. Lenses determine how your product is framed, the clarity of details, and the overall focus of the shot.
Budget option: Canon EF 50mm f/1.8 STM Lens – Known as the “nifty fifty,” this lens is affordable but offers great depth of field and sharpness for product photography.
Professional option: Sony FE 24-70mm f/2.8 GM Lens – A top-tier zoom lens for the Sony Alpha series, it’s perfect for capturing a wide range of products with incredible sharpness and clarity.
3. Lighting: Creating the perfect mood
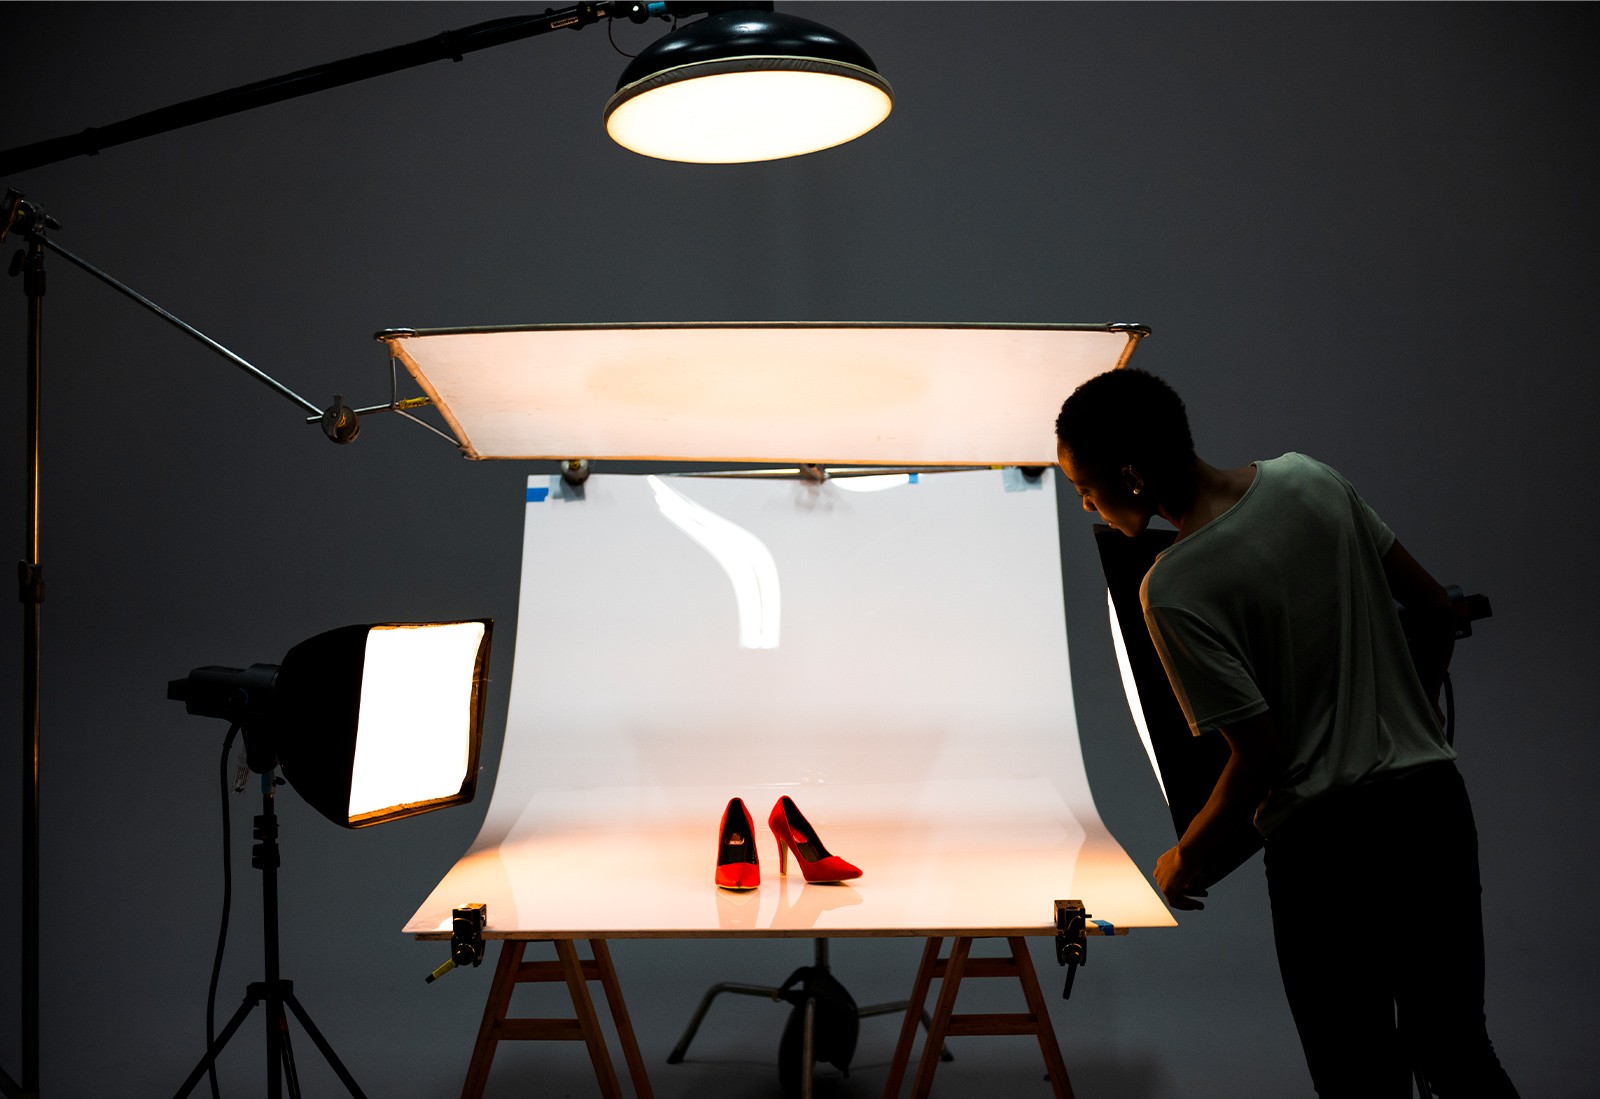
Lighting can make or break your product photos. Without proper lighting, even the best products can look dull or lifeless. Here’s what you need to control light effectively:
Budget option: Neewer 2-Pack LED Video Light Kit – This affordable LED lighting kit provides adjustable brightness and comes with color filters to get the right lighting for any product.
Professional option: Godox SK400II Studio Flash Kit – This studio flash setup offers powerful, consistent lighting and works well for a professional studio setting.
4. Tripod: Ensuring steady, Sharp photos

A stable tripod is crucial for product photography, as it helps eliminate blur and ensures consistency across multiple shots. A shaky camera results in lower image quality, which can undermine the professionalism of your photos.
Budget option: AmazonBasics Lightweight Tripod – Inexpensive but effective for keeping your camera stable during shooting.
Professional option: Manfrotto MK190XPRO3 Tripod – Known for its durability and stability, this tripod is designed for professional use and supports heavier camera setups.
5. Backgrounds: Keeping the focus on your product

A clean, distraction-free background ensures that your product stands out. For ecommerce, the typical choice is a white background, which helps the product pop without distractions. But textured or colored backgrounds can also create mood and context.
Budget option: DIY lightbox with white paper roll – Simple and effective, a lightbox setup helps diffuse lighting and creates a professional, clean backdrop for small to medium-sized products.
Professional option: Impact seamless paper roll – A top-tier paper background that’s perfect for larger products or brands looking for a professional studio finish.
6. Reflectors and diffusers: Controlling light and shadows
Reflectors and diffusers are inexpensive tools that help you control lighting, reducing harsh shadows and ensuring the product is well-lit from all angles.
Budget option: DIY reflector (White board or aluminum foil) – A cost-effective solution to bounce light onto your product.
Professional option: Neewer 5-in-1 reflector kit – This versatile kit includes multiple reflectors and diffusers to get the perfect lighting for any shoot.
7. Photo editing software: The final touch
Once the photos are taken, editing is key to bringing out the best in your images. Adjusting brightness, contrast, sharpness, and color can make a significant difference.
Budget option: Adobe lightroom mobile – Free with basic editing capabilities, perfect for enhancing photos on a budget.
Professional option: Adobe photoshop + Lightroom – The industry standard for professional photographers, offering powerful editing tools that allow you to fine-tune every detail of your product photos.
Product photography is an essential aspect of ecommerce success, but it requires careful preparation and execution. Here's a step-by-step guide to help you get the best results from your shoot.
1. Prepare properly for the shoot
Before your camera starts clicking, preparation is key. A well-organized shoot ensures efficiency and a smoother process. Here’s how to get ready:
Create a shot list: Plan ahead by listing every angle, product grouping, and specific shot you need to take. Use this list as a guide on the shoot day to stay organized and avoid missing any important shots.
Sort and group your products: Group products by size or type to streamline your workflow. For differently-sized products, you may need to adjust lighting, tripod height, or even switch lenses. Planning this in advance can save you a lot of time during the shoot.
Prepare your products: Ensure all products are in perfect condition. This might mean ironing clothes, polishing items, or dusting surfaces. A spotless product will minimize time spent on post-production editing and make the final images look more professional.
2. Get ready with equipment
Having the right equipment is crucial for creating high-quality images. Here’s how to set up your scene:
Set up the scene: Use a table and set up a white paper sweep, acrylic sheet, or appropriate background. Position reflectors or white bounce cards to soften shadows, and ensure your tripod and camera are securely in place.
Lighting preparation: Decide whether you’ll be using natural light, artificial light, or a mix of both. Natural light is free and soft but depends on the time of day and weather. Artificial lights, such as LED panels or lamps, give you more control over the setup but require positioning adjustments to avoid harsh shadows.
3. Adjust your camera settings for the shoot
Getting your camera settings right is crucial for professional-looking images. Here's what to consider:
Shutter Speed, ISO, and Aperture: Depending on your lighting and product, you may need to adjust these three key settings. For product photography:
Use a low ISO (100-200) to reduce noise.
A narrow aperture (f/8-f/16) helps keep the entire product in sharp focus.
Set your shutter speed based on the available light and ensure no motion blur.
4. Properly expose the light
Proper lighting is the backbone of great product photography. Here’s how to get it right:
Trial shots: Take a few test shots to check the exposure and lighting. Move the light sources and reflectors to different angles until you achieve the right balance of highlights and shadows.
Use the RGB scale: It’s crucial to ensure your white backgrounds are truly white, which is where the RGB scale comes in. The RGB value for pure white should be 255. Start at 250 and work your way up to 255, ensuring you don’t overexpose the image. Anything above 255 won’t be registered by your editing software, leading to blown-out highlights.
Artificial vs. Natural light: Natural light is free and easy to use but has its limitations (e.g., weather, time of day). Using simple desk lamps or reflectors can still create good images on a budget, while professional studio lights will offer full control over brightness, sharpness, and shadows for a flawless result.
5. Choosing the right background for ecommerce photography
Your background should complement the product and not distract from it. Here’s what to consider:
Budget-friendly options: White paper sweeps, poster boards, or even DIY backdrops are cost-effective ways to create a clean, professional look. Acrylic boards and foam boards also work well.
Professional backdrops: Seamless paper rolls, vinyl backdrops, and muslin fabrics provide a smooth, wrinkle-free background and are ideal for larger or more detailed products. These backdrops start at around $40 and are a worthwhile investment for long-term use.
6. The shooting process
Now that you’ve prepared your items and equipment, it’s time to start shooting. Follow these steps for a smooth workflow:
Stick to your shot list: Begin by following the shot list you created during your preparation. This ensures you capture every necessary angle, detail, and product group. Stay focused and methodical during the shoot to avoid missing anything important.
Check your shots regularly: Throughout the shoot, review your images to ensure they are well-lit, sharp, and aligned with your vision. It’s easier to make adjustments during the shoot than to fix issues later in post-production.
Finish with a review: At the end of the day, go back to your shot list and confirm that you’ve taken every shot you need. This step is critical to avoid the hassle of re-shooting missed shots later.
Product photography can make or break your ecommerce success. Avoiding common mistakes is key to creating images that engage customers and drive sales. Here are some major pitfalls to watch out for—and how to sidestep them.
1. Not prepping enough or ignoring your shot list
Failing to prepare thoroughly can lead to rushed or incomplete shoots. Not following a shot list may cause you to miss important angles or product groupings, forcing you to reschedule the shoot or settle for subpar results.
How to avoid: Before the shoot, create a detailed shot list and stick to it throughout the process. Ensure all angles, close-ups, and product groups are covered. Double-check your list at the end of the session to avoid missing critical shots.
2. Not prepping items properly
Poorly prepared items can lead to unprofessional-looking photos, which then require costly and time-consuming post-production edits. Wrinkles in fabric, smudges on products, or dust on surfaces are all easily fixable before shooting but harder to deal with afterward.
How to Avoid: Spend time cleaning, ironing, and prepping your products to ensure they look flawless before the shoot. This will save you hours of post-production work and ensure the photos look polished right away.
3. Shooting too few angles
Customers want to see a product from multiple perspectives before making a purchase. Only offering one or two angles can limit their understanding of the product, which may lower conversion rates.
How to Avoid: Capture several angles of each product, including front, back, side, top, and close-up shots of important details. For clothing or accessories, consider lifestyle photos to show the product in context. The more comprehensive your images, the more likely customers will feel confident enough to buy.
4. Choosing the wrong photography vendor
Selecting an ecommerce photography company based solely on a low price or immediate availability can backfire. Low-quality images can hurt your brand, and fixing poor photography can be expensive in the long run.
How to Avoid: Do thorough research before choosing a vendor. Look at their portfolio to assess the quality of their work, check reviews, and ensure they have experience in ecommerce photography. Don’t just go for the cheapest option—investing in quality will pay off in better images and higher sales.
5. Inconsistent lighting and backgrounds
Inconsistent lighting or using various backgrounds for the same product line can make your ecommerce store look unprofessional. It also confuses potential buyers and can reduce brand trust.
How to Avoid: Use consistent lighting and a uniform background for all product shots. For ecommerce, a clean white background is often ideal, as it keeps the focus on the product and creates a professional, cohesive look across your site.
6. Overediting or underediting photos
Both overediting (e.g., heavy filters, unrealistic colors) and underediting (leaving in imperfections, bad lighting) can damage the credibility of your product images. Overly edited images can mislead customers, while poorly edited ones can make your brand seem unprofessional.
How to Avoid: Focus on realistic edits. Adjust brightness, contrast, sharpness, and color balance to enhance your images while ensuring they stay true to life. If post-production is necessary, keep it minimal and focused on perfecting the product without distorting its true appearance.
When running an ecommerce business, one key decision is whether to handle product photography in-house or outsource it to professionals. This dilemma arises both for startups and as businesses grow. Here’s a closer look at the factors involved in making this decision.
1. Budget
Your budget plays a major role in determining whether you should shoot in-house or outsource. Here's how each option compares:
In-House: Setting up an in-house studio requires a significant initial investment in equipment (cameras, lights, backdrops) and potentially hiring a photographer. However, over time, as your need for product photos grows, handling photography in-house can become cost-effective, especially if you shoot frequently.
Outsource: Outsourcing is usually more affordable for businesses that need only occasional photos. You avoid the high upfront costs of buying equipment, renting a studio, or employing a dedicated photographer. For startups or businesses in early stages, outsourcing is typically cheaper and more flexible.
2. Experience and skill level
Your experience with photography and willingness to learn should also guide your decision:
In-House: If you or someone on your team has photography experience—or is willing to learn—the in-house approach could work for you. Learning the technical aspects (lighting, composition, editing) takes time, and the results may not always meet professional standards if you're new to photography.
Outsource: Professional photographers bring years of experience and the necessary expertise to deliver high-quality results quickly. They understand how to best showcase products for ecommerce, which saves you the trial-and-error process. Outsourcing can ensure you get professional images without needing to spend time developing photography skills in-house.
3. Volume of images
As your ecommerce store grows, the number of images you need annually becomes a key factor. In the USA, businesses that need over 8,000 images per year might benefit from building an in-house studio:
In-House: If your business requires a high volume of product images—thousands per year—in-house photography may offer a long-term cost-saving solution. At this point, owning your own equipment and having a dedicated team can be more economical than paying for large-scale outsourcing.
Outsource: For businesses that need fewer images, outsourcing is often more cost-effective. You only pay for the images you need without the overhead of maintaining a studio or staff. This approach is flexible and scalable based on the fluctuating demand for new products or seasonal releases.
4. Control and flexibility
Consider how much control and flexibility you want over the process:
In-House: With an in-house studio, you have complete control over the shoot, allowing you to make quick changes, adjust setups on the fly, and capture additional shots if needed. This flexibility is especially beneficial if you frequently update product lines or need custom photography tailored to specific promotions or campaigns.
Outsource: Outsourcing means relinquishing some control over the creative process and relying on the third-party photographer to deliver what you need. While professionals usually understand the brief well, you may have less flexibility to make immediate changes during the shoot. However, outsourcing can still be very efficient if you work with photographers who understand your brand and needs.
5. Time and resources
Another key factor is whether you have the time and resources to dedicate to in-house photography:
In-House: Setting up an in-house operation requires significant time and effort, not just for the initial investment but also for regular shoots and editing. You’ll need a team or individuals who can handle the photography workload, equipment maintenance, and editing.
Outsource: Outsourcing saves you time since the professionals handle the entire process, from shooting to post-production. If you’re short on time or want to focus on other aspects of growing your business, outsourcing photography is a hassle-free option that allows you to offload this critical but time-consuming task.

